YEAHUI ELECTRONIC LIMITED Yeahui Cable, connector to the world!
Home / blog
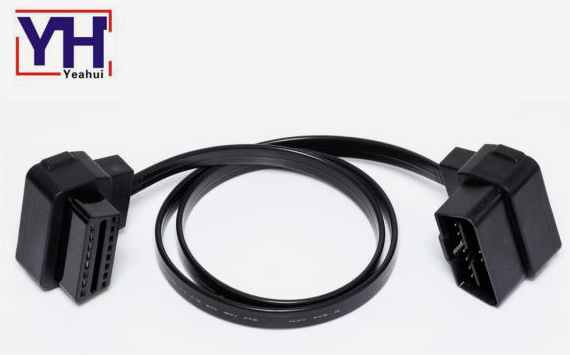
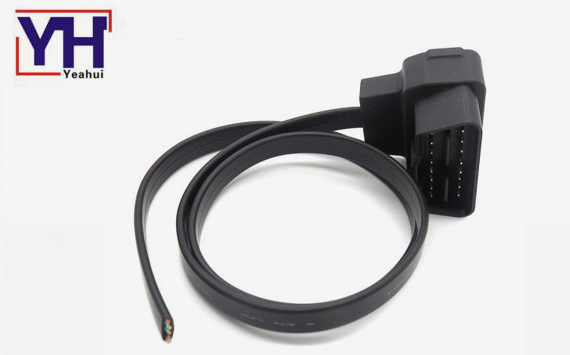
Using obd2 extension cable can save the wear and tear on your scan tool’s OBD connector. Obdii cables was often overlooked in any electrical system. Building a quality obd2 extension cable requires a couple inexpensive tools and the right techniques.


Here Yeahui have some tips to make obd2 extension cable :
1.To cut each wire to certain length and strip the ends .
2.To crimp a terminal on each end . Tug on each terminal to ensure there is no movement of the wire .
3.Please repeat steps 1 and 2 for each wire , securing it to the template as it would be in the finished harness .
4.To Test continuity of all wires and verify routing .
5.To install heat shrink or loom , moving from the “small” end of the harness to the “big” end . For heat shrink , overlap between sections will help keep moisture out and keep the harness from coming apart .
6.To check continuity of each wire . For multi-pin connectors , make sure you know which terminal needs to go where in the housing , they can be a pain to remove if you screw up .
7.To install connector housings . Done !
High quality materials give the cable superior flexibility and durability . If you think it is difficult to make the obd2 cable , you could contact Yeahui (one of the earlier bird in electrical interconnect market )to buy a new one : sales@auto-connector.com


